

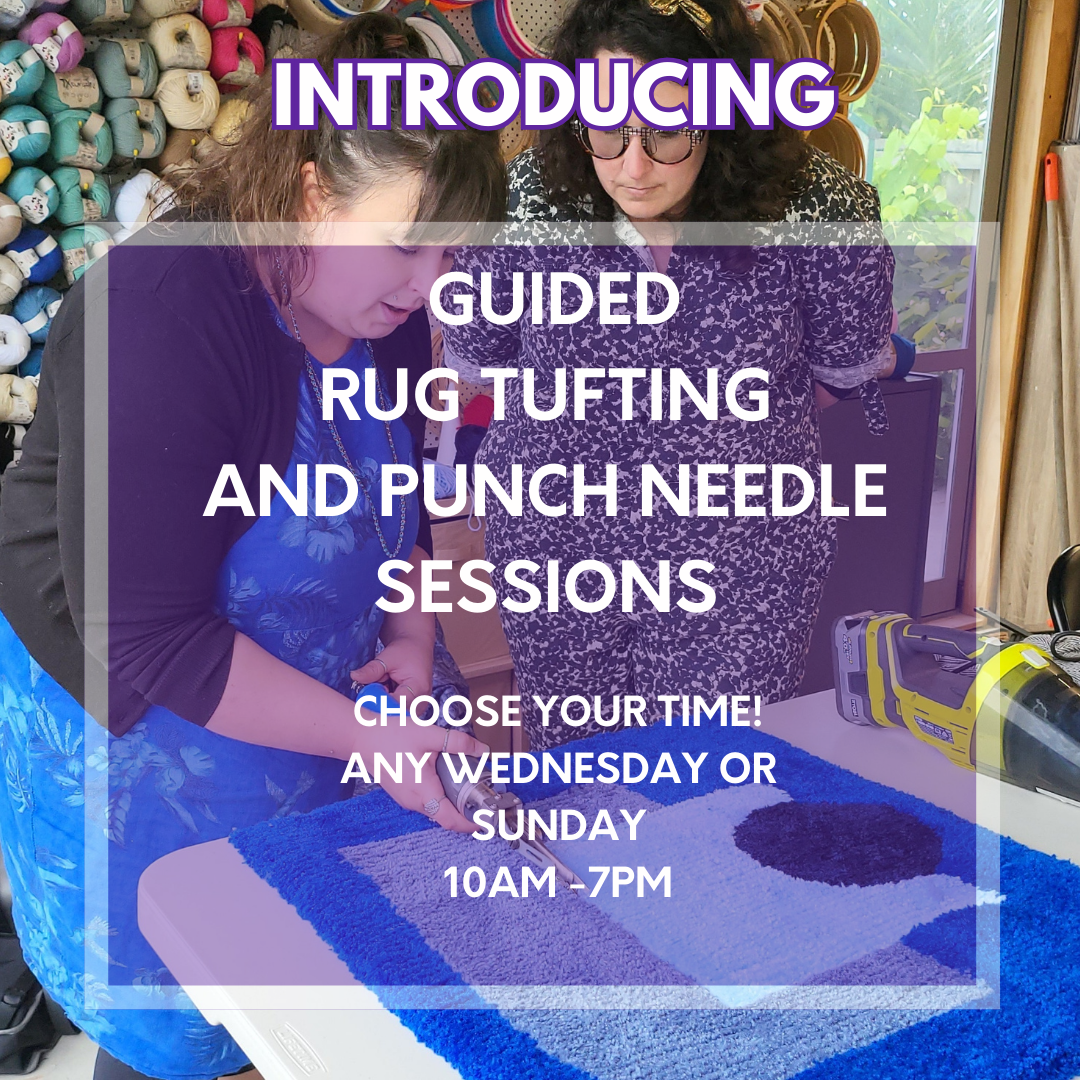


Check Out Some Really Quick Videos Showing you the first few steps to Tufting and my Tufting Setup for Testing my New Rug Yarn and Various Tufting Guns!
WHAT YOU NEED:
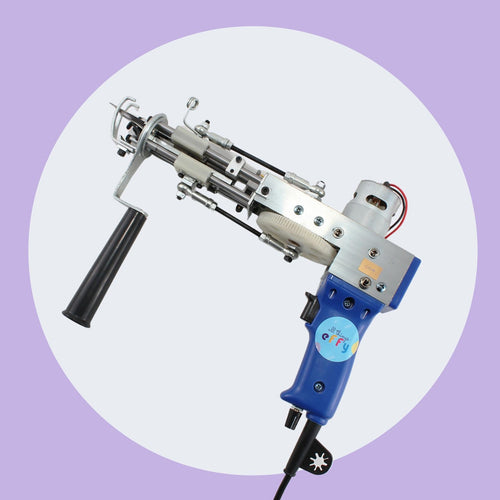
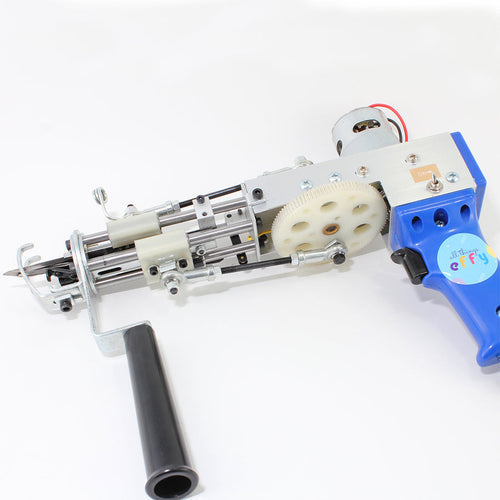
- Tufting Gun
-
Tufting Fabric
(this is part polyester to avoid fraying when standing up against the force of the gun) - Tufting Frame to stretch your fabric tight as a drum
- A method to keep your Tufting Frame stable while you put a lot of pressure on the fabric with your gun!
- Yarn wound to cones or very loose at your feet
HOW TO TUFT:
STEP 1: Watch some YouTube videos, look at Instagram or just look online. Get a feel for the Craft and how it looks when people are tufting. This will really really help!
STEP 2: Turn your gun on and make sure it is working! If it is not – contact me!!
STEP 3: Thread your gun. Use a piece of wire or a threader to bring the yarn through the yarn guide and through the top of the needle. It should be hanging loose on the open side of the tufting needle. Make sure your yarn is coming from above your needle. This is necessary but generally causes less havoc as the yarn can easily get caught in moving parts of the gun. If that happens, STOP!
Also your yarn need to be loose loose loose. If you don’t the yarn will just pull right out of your gun and not go in the fabric. This is why yarn wound to cones is popular. When you pull yarn up off a cone it unravels with ease.
If you don’t have this, that’s okay just make sure you are constantly taking yarn off your ball and leaving it unravelled so there is not tension on the yarn.
STEP 4: Place the gun firmly (and I mean firmly) into the fabric.
STEP 5: Pull the trigger and run the gun UP the fabric. With a tufting gun you always tuft in the direction of the closed side of the needle. Yes, this is confusing for those of us who started out at Punchers!
STEP 6: You’re probably thinking on gosh! at this point and maybe your yarn has come out. Don’t Fret. This takes practice. Re-thread your tufting gun and try another line up the fabric.
Continue to do this until you get a feel for the weight and speed of the gun.
If you gun has speed control keep it on it’s lowest setting at first.
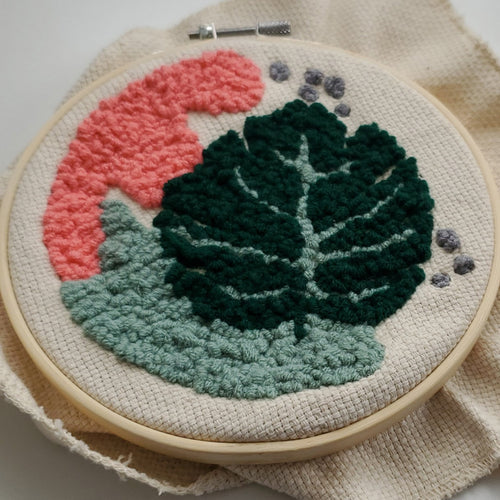
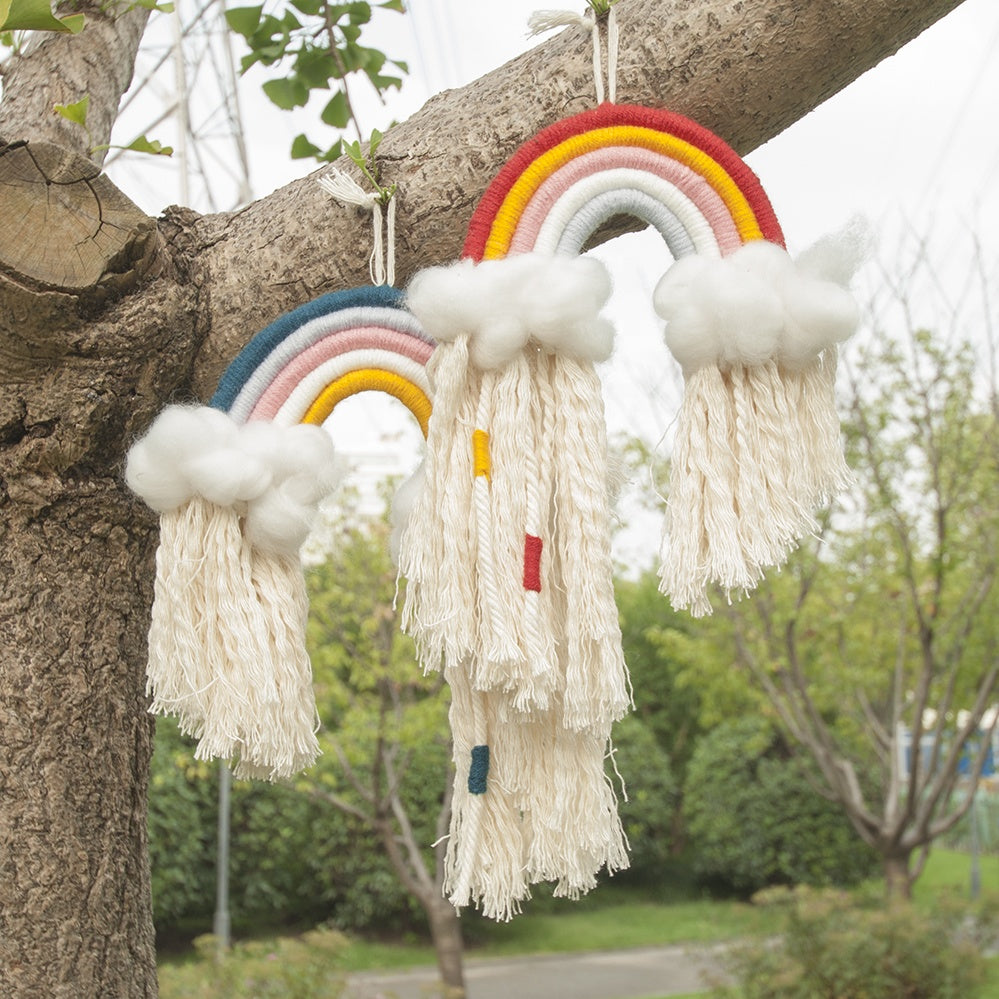
Step 7: Start creating your rugs!
You will find it takes time to learn how to create curves so use cheap yarn to practice.
TROUBLESHOOTING, TIPS & TRICKS:
So, you tried all these steps and something is just not working.
I test every gun before I ship it but sometimes things can happen in transit.
You can view my videos to see more about how to adjust your gun and how to fix some common problems.
Please STOP and contact me if any of the following occur:
- Your toggle switch isn’t turning on or it is loose
- Your gun is jammed (don’t force it! There’s a reason its not moving correctly!!)
- Your scissors don’t appear to be cutting your yarn.
- Any part appears to have come loose or fallen off.
These tufting guns are machines and machines require care to keep working properly for years to come.
Makes sure you clean your gun consistently with a toothbrush or other soft brush. Re-oil it regularly. I like to use sewing machines oil.
Please don’t tinker with your gun until you are confident and have watched videos on how to make the changes.
I always suggest taking measurements and photos before doing anything to your tufting gun. That way you have something to refer to when you are putting it back together!
But above all else, enjoy! I am always happy to hear from you and help you on your tufting journey!
xx Carolyn
How to Tuft: